Adding Extra Security to Your MilkNotes Account
Two-factor authentication (2FA) adds an extra layer of security to your MilkNotes account. Even if someone discovers your password, they won’t be able to access your account without the verification code from your authenticator app.
Step 1: Download Google Authenticator
First, download the Google Authenticator app on your mobile device:
- iOS: Download from the App Store
- Android: Download from the Google Play Store
Step 2: Enable 2FA in MilkNotes
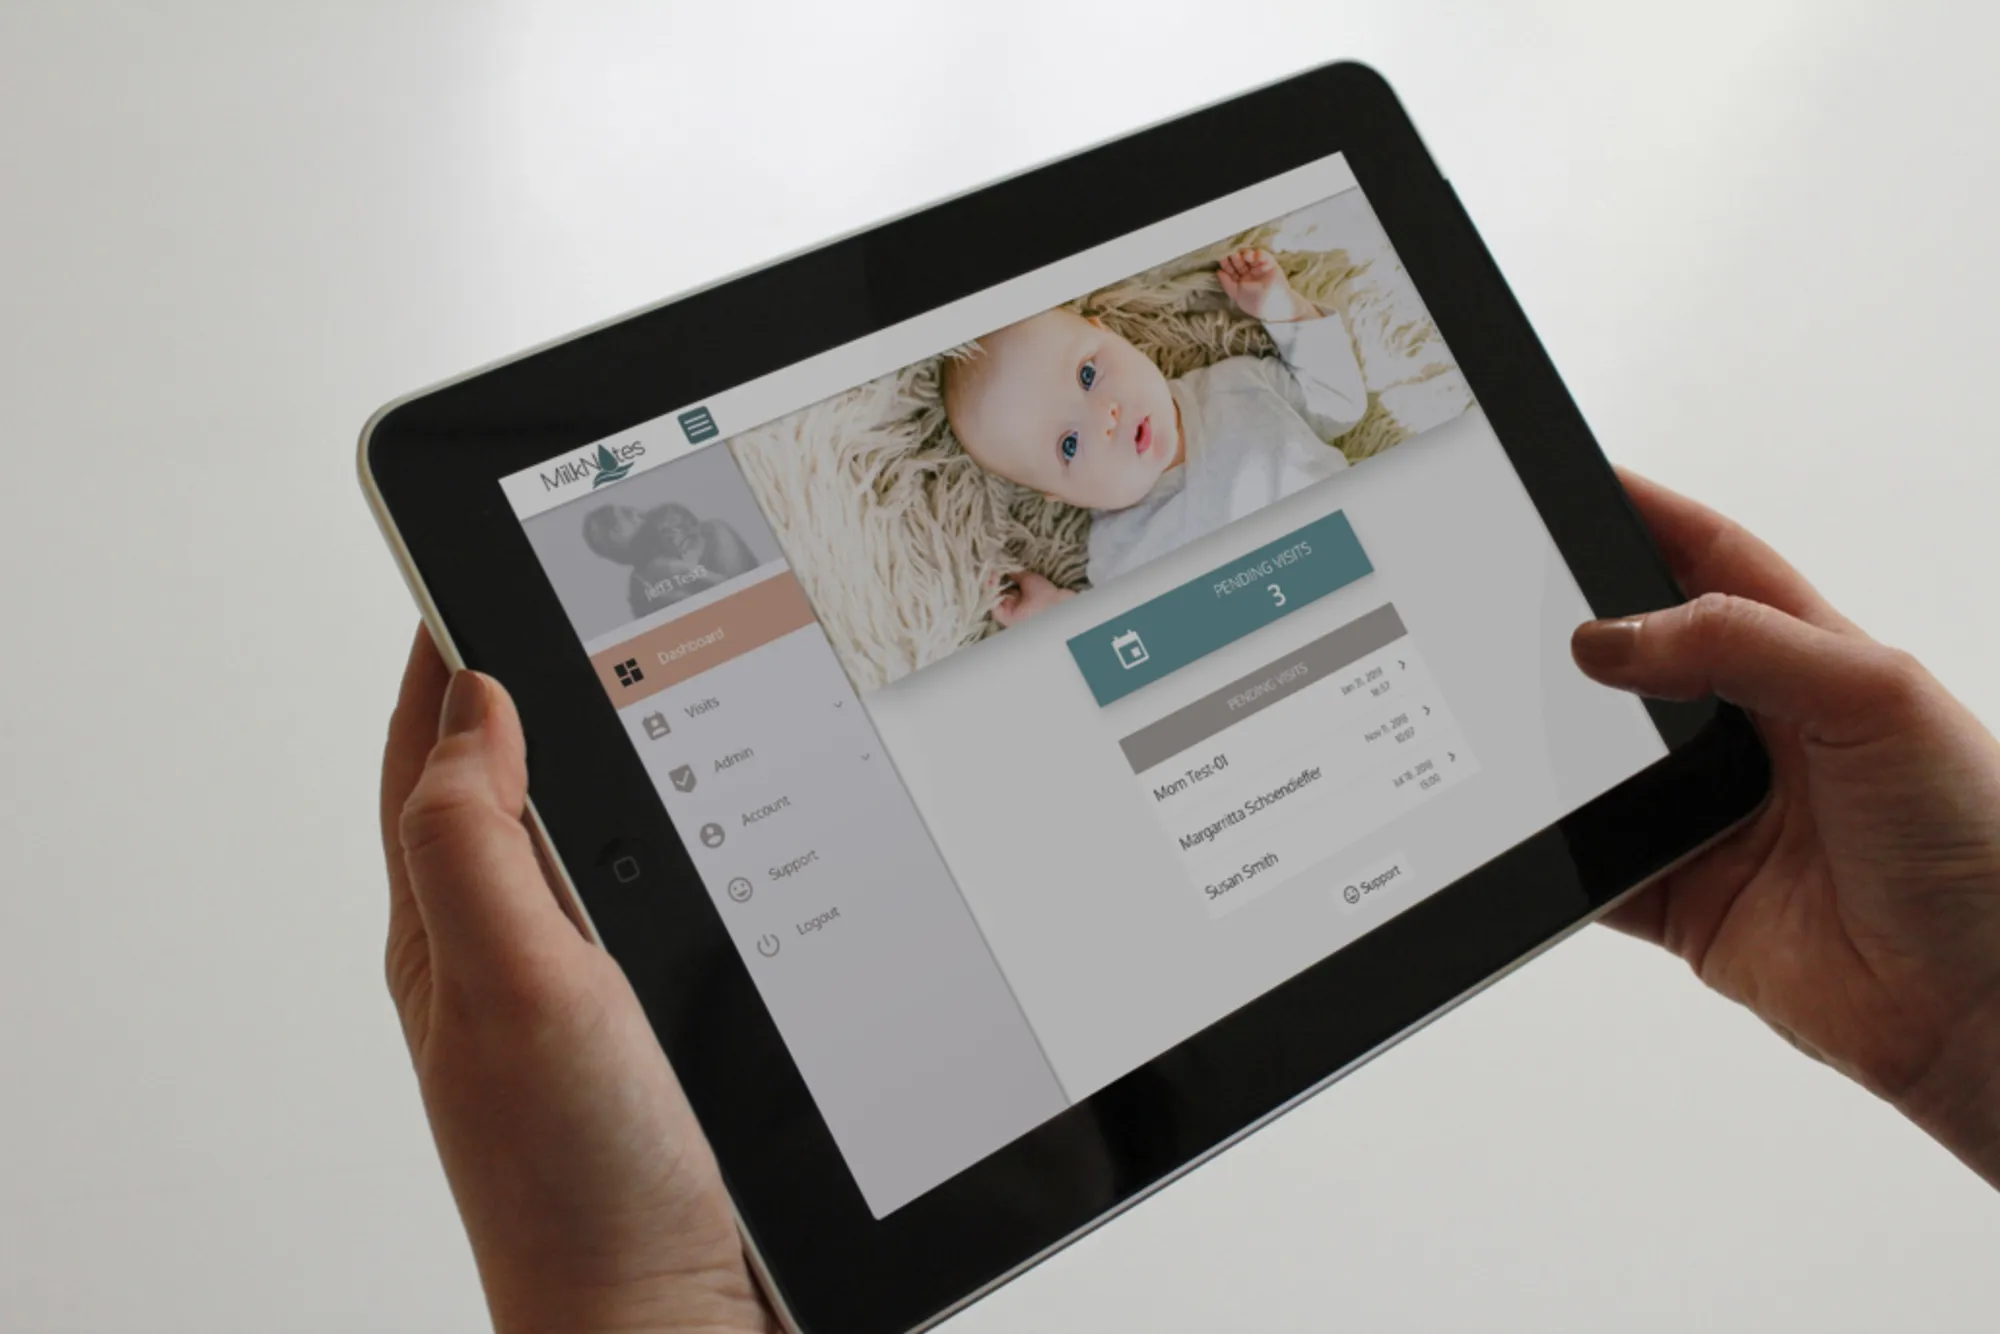
- Log in to MilkNotes
- Navigate to My Profile from the left menu
- Look for the Security or Two-Factor Authentication section
- Click Enable Two-Factor Authentication
Step 3: Scan the QR Code
MilkNotes will display a QR code on your screen:
- Open Google Authenticator on your phone
- Tap the + button to add a new account
- Select Scan QR Code
- Point your phone’s camera at the QR code on your screen
Step 4: Verify and Complete Setup
- Google Authenticator will now show a 6-digit code that changes every 30 seconds
- Enter this code in MilkNotes to verify the setup
- Save your backup codes in a secure location in case you lose access to your phone
Logging In with 2FA
After setup, each time you log in to MilkNotes, you’ll:
- Enter your email and password as usual
- Open Google Authenticator and enter the current 6-digit code
This simple extra step significantly increases the security of your sensitive client data and helps maintain HIPAA compliance.