Creating a New Visit in MilkNotes
Creating a visit in MilkNotes is simple and straightforward. Whether you’re seeing a new client or scheduling a follow-up with an existing one, the process is designed to be intuitive.
Getting Started
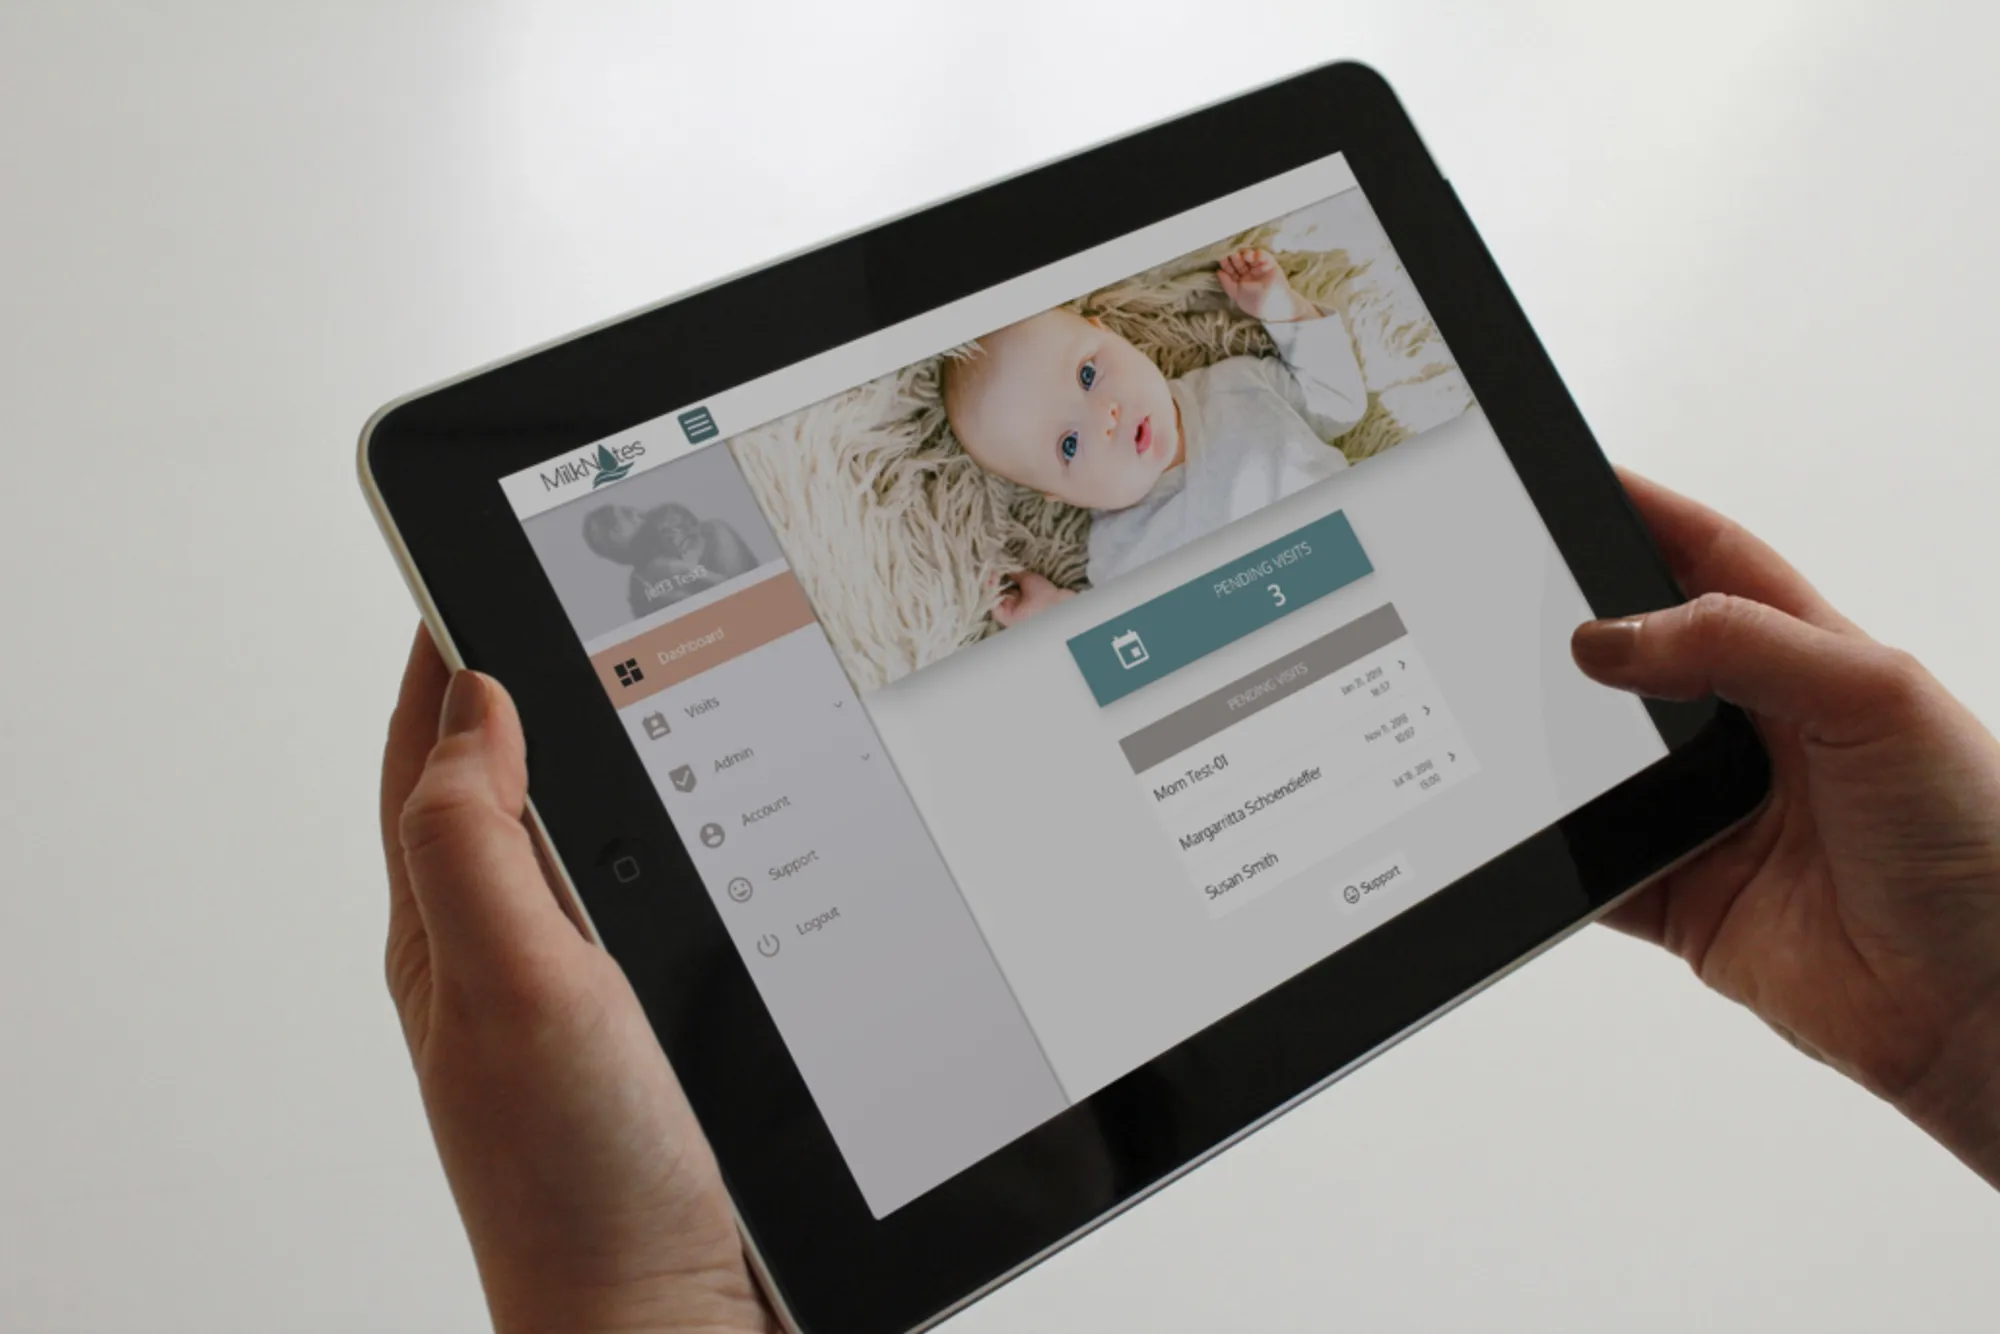
- Log in to MilkNotes and navigate to the Visits page from the left menu
- Click the New Visit button to begin creating your visit
- Choose whether this is for a New Client or an Existing Client
For New Clients
If this is a new client, you’ll be prompted to enter their basic information including:
- Parent name and contact information
- Child’s name and date of birth
- Insurance information (if applicable)
For Existing Clients
For existing clients, simply search for their name and select them from the list. Their information will be pre-populated from their profile.
Setting Visit Details
- Select the date and time for your visit
- Choose the location (office, home visit, or VideoCare™ for telehealth)
- Add any notes or special instructions
After Creating the Visit
Once the visit is created, it will appear in your Pending Visits column on the visits page. From there, you can begin charting, send the parent their intake forms, or make any necessary adjustments.
MilkNotes makes it easy to manage your entire practice from one place!